Belt drives

SUBJECT OUTCOME
4.3 Plan and prepare for v-belt maintenance
 
Read and interpret a job card, obtain documentation and interpret engineering drawings
 
When a new belt installation or maintenance must be done on a belt drive it is important to have detailed engineering drawings as well as a manufacturers manual.  The information normally on a job card and drawing will indicate the following:
  • Pulley diameters
  • No of grooves on pulleys
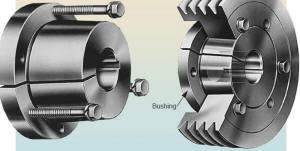
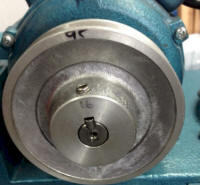
  • Method how pulley is fixed to the shafts e.g. key or Split taper sleeves Link
  • Centre distance between pulleys
  • Belt length
  • Belt tension information
  • Belt tension adjusters
  • Preferred alignment method
  • Special tools needed for installation


Identify personnel requirements and schedule maintenance procedures
 
Mechanical power transmission including belt drives are subject to wear and tear due to there operation.  Some belt drives only run intermitted, for example a DIY compressor for home use, In other cases it might be a water pump running 24/7 operations.  Like any drive belt drives must be installed correctly and be maintained to ensure that they last a long time.

Most plants will have maintenance planers.  They will keep a record of all plant machines including belt drives.  These records will include the following on a belt drive:

  • When was the drive installed
  • When was it last inspected
  • Who did the inspection
  • What parts where replaced
  • All drawings and manufacturing manuals will be kept by planner

The maintenance planner will also prepare the following documents for the maintenance fitter:

  • Job cards will be prepared by the maintenance planner
  • Plant shutdown permission permit will be obtained
Select appropriate tools and equipment
 
The following tools are normally required when belt maintenance and installations are performed:

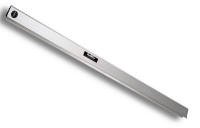
Straight Edge

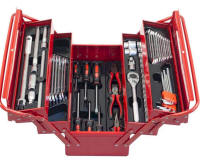
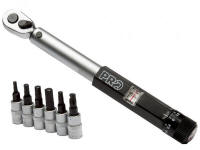
Various tools Torque wrench Browning tension device Laser pulley aligner
 
Clean and inspect the complete assembly
 
When inspecting a belt drive for defects and wear the following can help as a guide.

Cleaning belt drive:

  • Do not use any solvents when cleaning a belt drive, as solvents can damage belt material
  • Use a wire brush to remove any rust from pulleys and guards
  • Paint guards if needed

Checks while belt drive is in operation:

  • Observe if there is any vibration on drive
  • Listen for noise that can indicate a belt Slipping
  • Check if there is any loose fasteners on guards
  • Check for corrosion on guards
Checks while belt is stationery and is isolated:
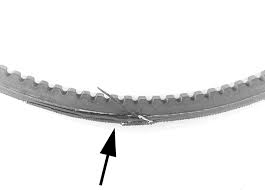
  • Inspect belt for wear and signs of damage. Belt cane have cracks on it
  • Check belt tension
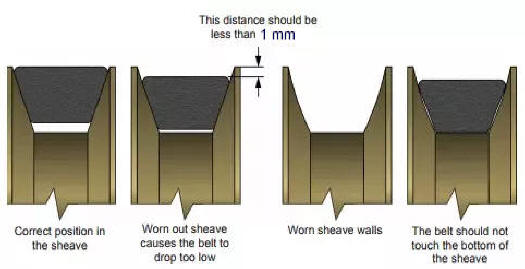
  • Check pulleys for wear.  Normally pulley is worn-out if belt touch bottom of V
  • Check pulley alignment
  • Check for wear on shaft key and other fasteners
  • Check other components such as shafts, bearings, motor and machine mounts
  • Check for any damage to guards and guard fasteners

List the potential areas of defectiveness and wear
 
Pulley alignment

The aim of belt alignment is to align the grooves of the drive and driven pulleys so that the belts run with minimal wear. Belt manufacturers typically recommend a maximum horizontal angular misalignment from 1.0 to 0.25°. This accuracy can only be achieved with precision alignment tools such as laser equipment.

If pulleys is misaligned it can lead to the following:

  • Excessive wear on pulleys
  • Excessive belt wear
  • Belt rollover
  • Noise
  • Vibration
  • Motor and machine bearing wear
  • Energy loss

The following types of misalignment can be present on belt drives:  Note - there can be a combination of the different misalignment.

Vertical misalignment Horizontal misalignment Parallel misalignment Correct alignment

Belt position in the pulley

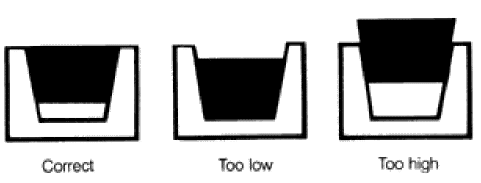
The position of the in the pulley is very important:

  • If the belt is to deep into the pulley and touch the bottom of the bottom it loses its wedge effect.  This will lead to belt slip and excessive wear on pulley and belt.
  • If the belt is to high, the contact area between sides of belt and pulley will be small.  This can lead to belt slip with belt and pulley wear.  Dive will loose efficiency.

Isolate equipment electrically from other energy sources
 
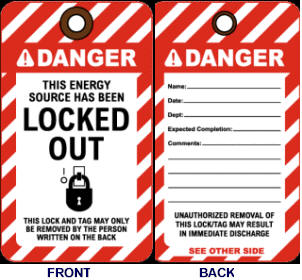
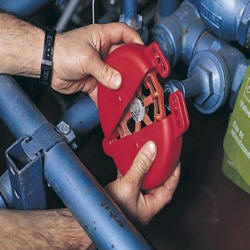
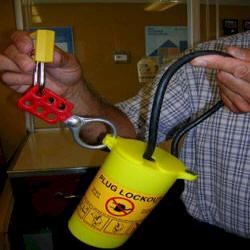
Lockout is used across industries as a safe method of working on hazardous equipment and is mandated by law.  The reason for electrical lockout is to ensure that belt drives are safe to work on and that accidental turning on of motors can not be done. 

It to prevent the following:

  • Getting caught in belt drive that can lead to severe injuries and amputation of body parts
  • Belt burns
  • Electrocution
  • Damage to machines and equipment
Lockout procedure: Video additional Website
  • Announce shut off
  • Identify the energy source
  • Isolate the energy source
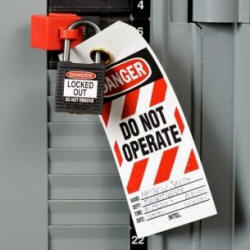
  • Lock and tag the energy source
  • Prove that the equipment isolation is effective
  • Attaches logout tag to lock with relevant information. e.g. Date, time, name of artisan, equipment location and possible duration of maintenance
  • If more than one person is working on drive, each person should have his own lock on electrical isolator


Isolate equipment mechanically from other energy sources
 
Modern machinery can contain many hazards to workers from electrical, mechanical, pneumatic or hydraulic energy sources. Disconnecting or making the equipment safe to work on involves the removal of all energy sources and is known as isolation.  In the case of belt drives that are mechanical tension can lead to severe injuries that are under mechanical tension.

Ensure that all mechanical tension is removed from drive by locking machine and motor shaft in position.