- Clamp the part in the lathe using a live centre if necessary.
- Turn the OD to the target major diameter and include a chamfer on the end at least 0.5 mm smaller than the minor diameter of the thread profile to be cut.
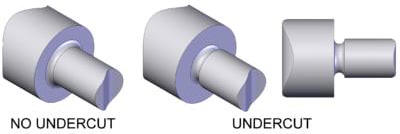
- If permissible, cut a thread relief using a grooving tool (as shown in Figure 1 and the two video thumbnail images above). The thread relief should be slightly less than the minor thread diameter.
- Adjust the gearbox levers on the front of the headstock to cut the proper thread pitch.
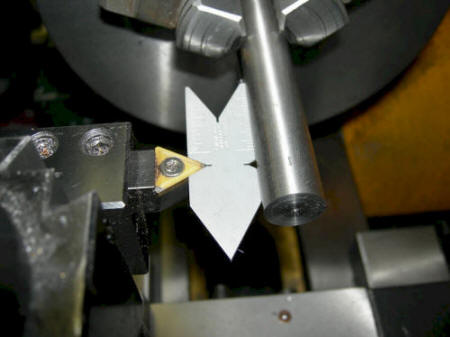
- Set the threading tool so it is aligned parallel to the X-axis Figure 2
- Touch off on the part and zero the X-axis.
- Cut a light (.03-.05 mm) scratch pass across the surface of the part to be checked with a thread gage for accuracy.
- If the pitch of the scratch pass measures correctly, begin cutting the thread to depth; start with deeper depths of cut (.25 mm in aluminium, 0.15 mm in steel) and make progressively shallower cuts as the thread gets deeper and the threading tool begins to leave a worse finish)
- As you approach final thread size, use a fine file to carefully debur the rough edges of the major diameter (unless using a full profile insert, which deburrs the major diameters automatically, as discussed above).
The procedure for making an actual cut is:
- Check the direction of the threading direction by engaging the half-nut with the tool a safe distance from the part; for this example, we will thread toward the chuck
- Adjust the spindle speed to a low setting (100-300 rpm) depending on how brave you are
- Position the tool in a safe starting location to begin cutting the thread
- Advance the tool toward the part the distance (depth of cut) you wish to cut
- Engage the half-nut for threading (it’s safest to leave this engaged for the duration of the threading session)
- Turn the spindle ON in the FWD direction and allow the tool to make a cut
- Turn the spindle OFF before the tool reaches a shoulder (if not exists); you can use the foot brake to stop it quickly if needed; if you stop too early, simply bump the power switch to continue the cut or rotate the chuck by hand
- Retract the tool a safe distance from the part in the X-direction
- Turn the spindle ON in the REV direction to allow the tool to return to a safe starting location
- Repeat steps until the desired minor or pitch diameter is reached.
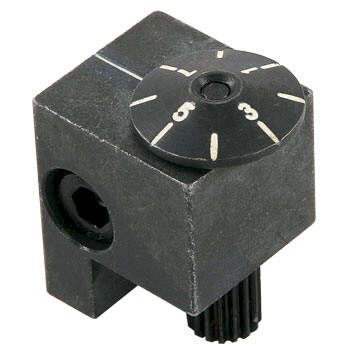
Note: The thread dial indicator (Figure 3) can be used for engaging the half-nut at the correct moment. This is to be used if the reverse method is not used.

Figure 1

Figure 2

Figure 3