|
SUBJECT
OUTCOME |
|
4.4
Dismantle and assemble v-belt drives |
| |
|
|
|
Disassemble the
v-belt drive |
| |
- Ensure belt drive is
electrical end mechanical isolated -
See isolation
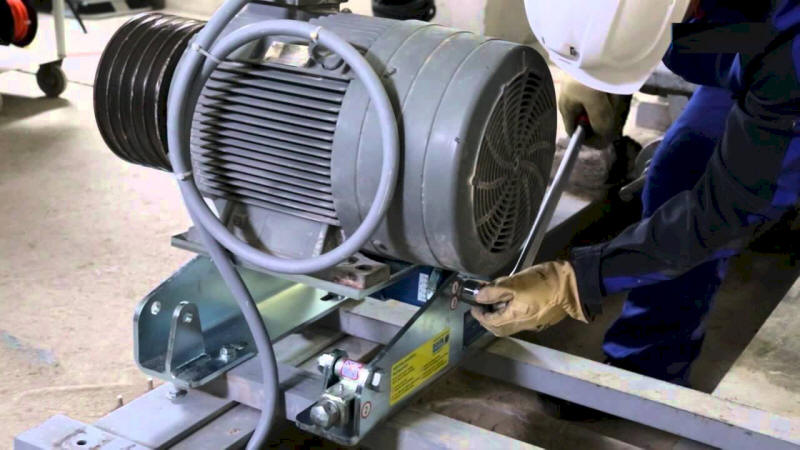
- Slack motor base bolts
and nuts so that motor pulley can move closer to machine
pulley
- The slack must be
sufficient for the belt to easily roll of by hand
- Note: Never use crowbar
or any other tools to remove belt as it is dangerous and
can also damage belt and pulleys
 |
| |
|
Identify v-belt drive assembly components |
| |
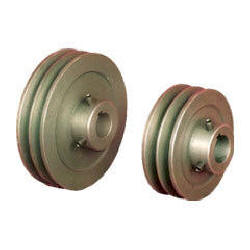
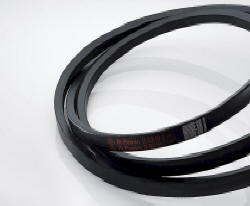
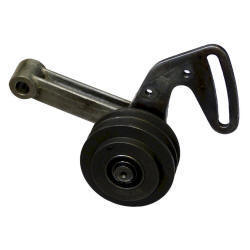
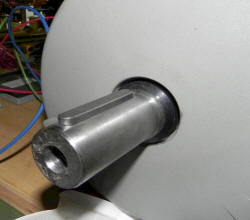
| Belt drives consists of
various components. It is important to recognise each
component, where it fit and what is its function. How
to fit and remove it safely and correct.
|
| |
|
Remove the belt drive
assembly |
| |
| Remove belt drive component
in a systematic sequins. Place all bolts, nuts, keys
and other components in a container for easy retrieval when
doing the assembly. If necessary mark components to
ensure correct position when doing reassembling. It is
also useful taking a cell phone photo of complicated belt
drive to assist in the reassembly of drive.
During disassembly check for
undue wear and misalignment.
|
|
Inspect parts for
non-conformances |
| |
Inspect belt -
Video
- Look for cracks,
fraying, or splits on the top cover. This is
normally due to belt age or excessive heat
- Look for signs of
glazing on the belt's sides. Glazed or slick belts can
slip, overheat or crack
- Twist a serpentine belt
to look for separating layers, cracks, or missing chunks
of the grooves on the underside
- Check for belt swelling
due to belt contamination by oil, grease and other
chemicals
Inspect pulleys -
Video
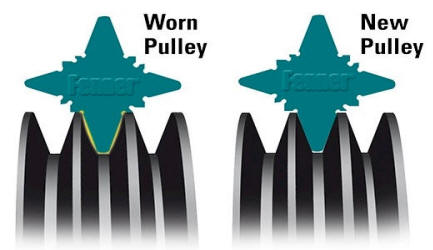
- Check for worn
sidewall on pulley by using pulley gauge
- Check pulley for
corrosion
- Check keyway for
wear
- Check pulley for
cracks
- Check pulley for
wobble and balance that can lead to machine
vibration
- Check idler
(jockey) pulleys bearings for wear, noise and
lubrication leaks
Other belt drive
components inspections
- Motor base a
adjustment screws for wear and corrosion
- Drive guards for
wear and corrosion
- Drive and driven
shafts for wear and corrosion
- Inspect shaft
keyways for wear
- Inspect motor
and machine bearings for serviceability
|
 |
Clean parts |
| |
| Clean drives with soap and
water, do not use any solvents to clean belt as it can
damage belt. If there is any belt contamination of oil
and grease, find the source of contamination and fix it.
Carbon tetrachloride can also be used for cleaning drive.
Note - Inhalation of its vapours can depress central nervous
system activity and cause degeneration of the liver and
kidneys |
| |
|
Assemble the belt
drive assembly and components |
| |
| Most belt dive failures is
the result of faulty installation of which the most common
faults are misalignment and wrong belt tension.
The following should never be
done when maintaining or installing belt drives:
- On a multi belt drive,
never install new belt with old belts as this will
result in uneven belt tension
- Do not mix different
type of belts on the same drive
- If possible, do not mix
different manufacturers belts, even if the sizes are the
same
- Never put belt dressing
on an EPDM-made serpentine belt. Belt dressing, and
other oils and solvents, may quieten the belt noise when
first applied, but these oils will actually cause the
belt's rib surface to become more aggressive once they
dry out, leading to even more belt noise issue
| Pulley alignment and belt
fitting
Additional websites
and
docs Pulley alignment is critical
for a effective belt drive.
Horizontal alignment:
- Move pulleys closer so
that belt can fit on pulleys by hand. Never use
any tool to force belt onto pulleys.
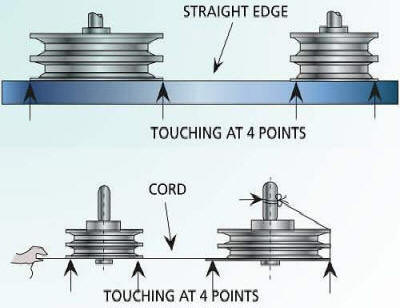
- Alignment must now be
done using the either a straightedge or laser -
video1
video2
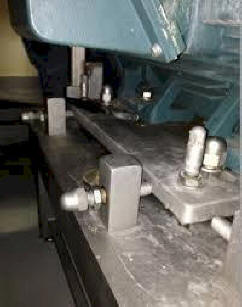
- Loosen the motor
mountings bolts and adjust until all four points
indicated touch straight edge
Figure (Top) shows
how a straight edge is used. Touching the driver and
driven sheaves at four points indicates good
alignment. Use a square positioned from the base up
to the sheave face to check if the sheave is
perpendicular to the base.
Figure (Bottom) indicates how a tight cord can be
used to check for pulley alignment. Tie the cord to
the driven pulley shaft and bring it around the
pulley face, bringing the cord to the driver pulley
face, a quick check can be performed to see if the
tight cord contacts the driver and driven pulley at
four points.
|
Horizontal alignment |
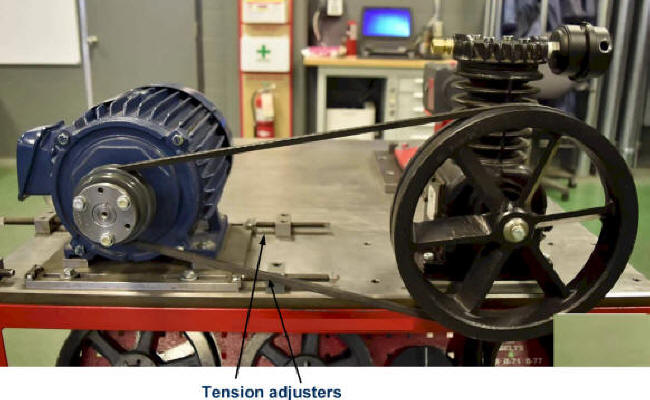
Motor horizontal
adjusters |
| |
|
|
|
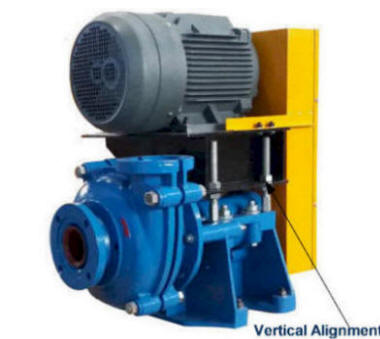
Vertical alignment:
- Alignment must now be
done using the either a straightedge or laser
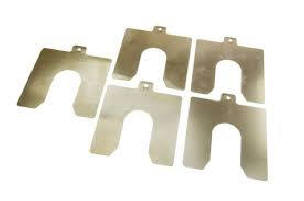
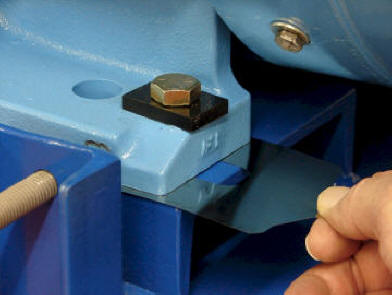
- Use shims under
motor base to achieve vertical alignment -
Additional website
- Some motors has
vertical jacking bolts to achieve alignment
Shim stock |
 |
 |
Belt drive tension
Correct belt tension is vital
important for an effective drive.
Tension
to low can lead to the following:
- Leads to
inefficient power transmission
- Belt wear
- Belt failure
- Possible
premature motor failure
- Wear on pulleys
- Heat build up in
belt drive and pulley
|
Tension to high
in belt drive can lead to the following:
- Excess
strain on the belts cause stretch that can
lead to premature belt failure
- Premature
belt wear
- Excessive
pulley wear
- Excess
bearings and shafts pressure causes
premature wear of these components
|
|
Adjusting
tension on belt drives -
Video
and
Additional website
Force belt
deflection method 1
This
tensioning method relies on a Pencil
Gauge Tool (Browning tension gauge) and
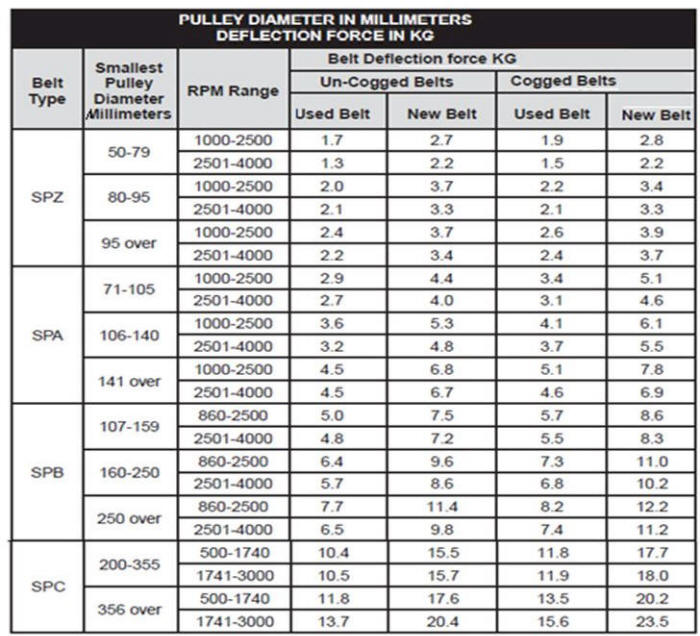
the mathematical standards laid out in
this V-belt tensioning table.
-
Measure the span length “K”
of your drive (See Figure 1)
-
Slide the large O-ring to
the recommended deflection
distance on the scale and
slide the small O-ring up
against the barrel of the
gauge as shown in Figure 2.
-
Place the large end of the
tool onto the belt at the
centre of the span. Apply a
sufficient force to deflect
the belt until the large
O-ring is in-line with the
other belts. If this is a
single-belt drive, use a
straight-edge or taught
string for a “starting
point” reference
-
Then, release the pressure
and read the deflection
force from the position of
the small O-ring on the
plunger scale as shown in
Figure 2
-
Compare this force with the
value given in the V-belt
tensioning table. If the
force is below the
recommended value, increase
the drive centre distance to
provide greater belt
tension. Reduce the centre
distance if there is too
much force
-
For example, for a 1000 mm
span, the deflection would
be 16 mm or
approximately,
PROS: Inexpensive ─ Precise
CONS: Time-Consuming ─ Tedious

Figure 1
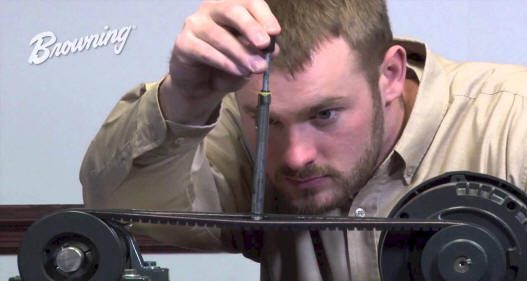
Browning tension tool |

Figure 2 |
|
|
|
|
Force belt
deflection method 2
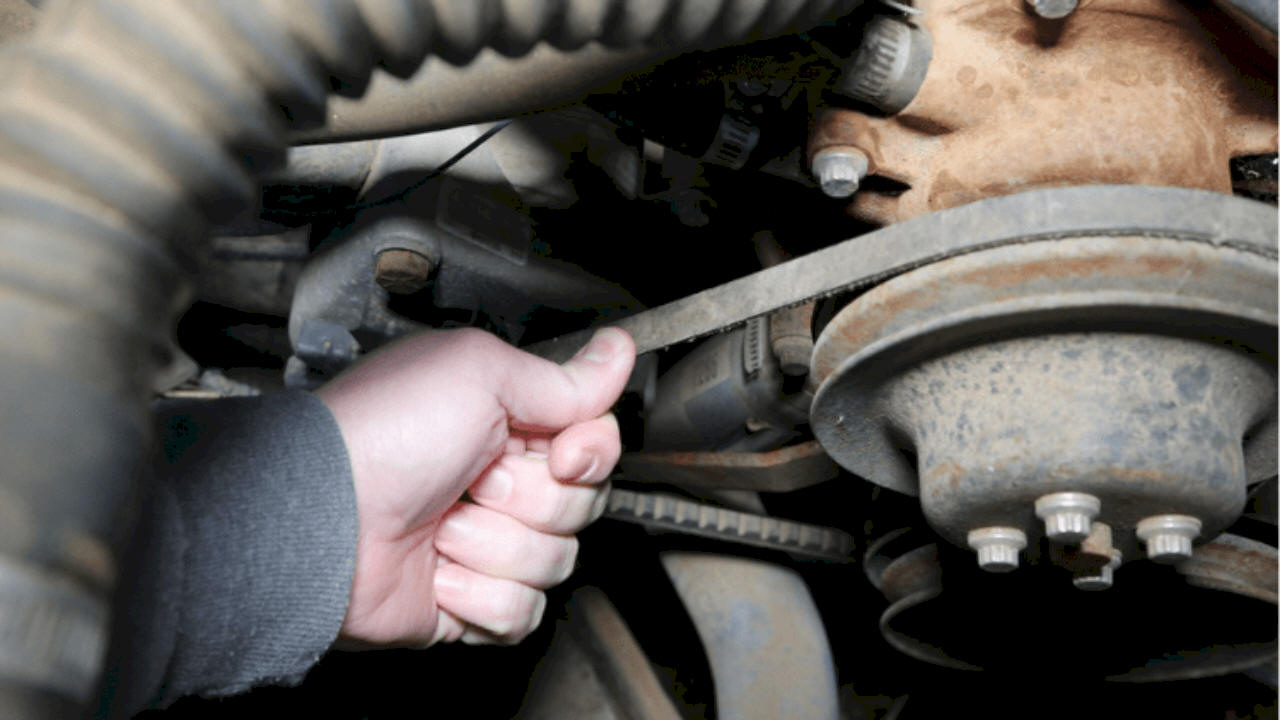
Using the thumb method
tensioning belt drive. The best
way to do this method? Don’t.
We mention the “thumb test”
method (using your hand or thumb
to apply pressure to the belt as
a way to judge whether or not it
has the correct amount of
tension) because many
traditional businesses still
practice this style of V-belt
tensioning.
When it comes to getting the
most life out of your belts and
maximizing the operational
efficiency of your business, we
do not recommend that anyone
rely on anything less than the
precision tensioning tools
mentioned above in methods 1
While the “pros” of this method
include the initial money and
time savings gained from this
simple procedure, as opposed to
investing in a tensioning tool,
the cost build-up of having to
replace your belts frequently
will ultimately overshadow this,
consequently increasing downtime
from belt failure.
PROS: Inexpensive Initial Cost ─
Fast ─ Easy
CONS: Unreliable ─ Inaccurate |
 |
|
|
|
|
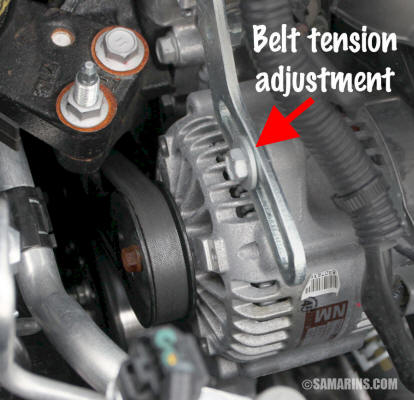
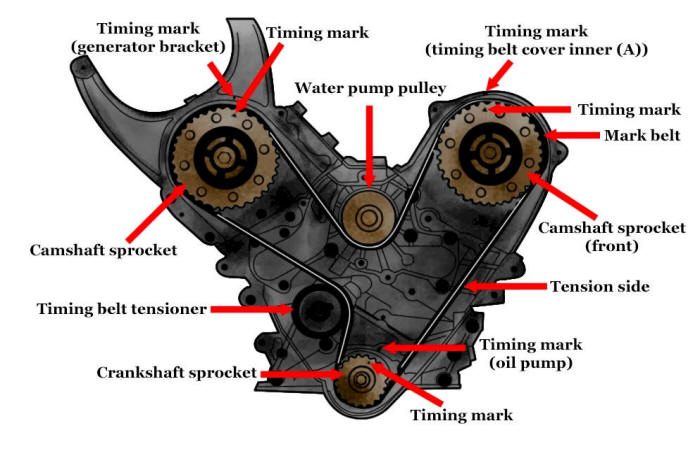
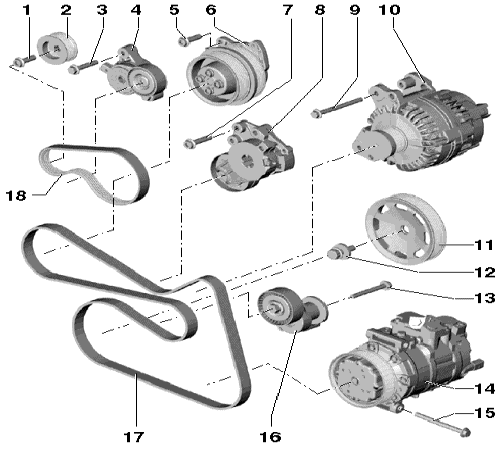
Car engine
alternator belt tension adjustment |
 |
|
|
|
|
|

